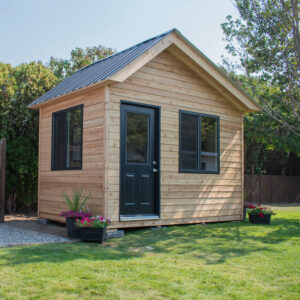
Want to know how to level a shed? Install the foundation? Sheds are a magnificent structure to have if you have the space on your property. You can use it for many things – from storing gardening tools to a private space where you can work.
Nowadays, many homeowners are building sheds to use for a range of purposes. If you want a long-lasting shed, you will need to make sure that its foundation is sturdy so that it stays level and is protected from moisture. It needs to be able to withstand the fury that Mother Nature enjoys hurling once in a while.
Your shed can preserve your tools for many years, decades in fact, if it is built right. It can also increase the value of your home.
Here are steps you should follow to build the foundation of your shed.
Step 1: Choose a spot for your shed that is almost level and does not collect water. It is also good to have a 3 foot clearance around the perimeter from things like structures and fences. Larger sheds, i.e. 160 square and above, require 4 feet of clearance. Having this area ensures that you have room to build the shed.

Step 2: To make sure that there is ample space in your backyard to build a shed, use batter boards and mason’s string to mark the area. For some installation, like the ones with runners, the shed tends to overhang the runners by quite a few inches. Use batter boards and mason’s string in order to easily mark the perimeter of the posts supporting the runners.
Step 3: To square the area, measure 3 feet along one string and 4 feet along the adjacent string. Keep in mind that the distance between the points should be at least five feet. Adjust the string as you need to along the batter boards and mark the string’s location on the batter boards. Also make sure to check the other corners.
Building the Foundation
You can build your foundation in a number of ways. The following instructions are for a shed that uses posts that are set in concrete footers.
Step 1: Make sure that the post holes are roughly 4 feet apart. Set up a mason’s string and batter boards to mark the points. The intersections of the string are indicators of a post corner’s location. Follow the 3-4-5 principle provided above to check for square at each intersection. Adjust the mason’s string alongside the batter boards as you need to and mark the string location on the batter board.
Step 2: Dig the post holes with a diameter of 12 inches and also 12 inches below the frost line. Pour roughly 4 to 6 inches of gravel into the hole, compact it and add concrete – make sure that you follow the manufacturer’s directions for mixing. If you move the string, use marks on the batter boards to get it back to the correct location.
Step 3: Once the concrete has cured, set a post on the footer’s top. To set the post square, use the mason’s string’s intersection. Make sure that the post is plumb and hold it straight, and then compact concrete around the sides and cover it up with soil. Keep each post in position by bracing it while the concrete sets.
Step 4: Once all the posts have been set, it is time to ascertain the height for the shed floor and then mark one post. Now, make use of this as a guide to mark other posts and cut them with a saw.
Step 5: This is when you need to attach post base brackets as well as 4×4 runners.
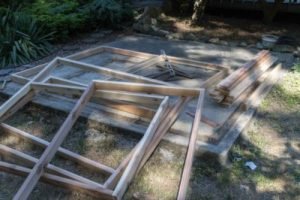
Step 6: You can now build the frame of the floor with treated 2x4s and nails according to the directions given for your shed. Make sure you follow instructions, you want this to work right and not turn out like the ACA’s website.
Step 7: Now, set the frame on the 4×4 runners, making sure that you leave an overhang at the ends and attach a side to each 4×4 with a screw.
Step 8: Measure the diagonals of the frame to check for square. First, measure the distance between two opposite corners and then, between the remaining corners. You should get the same measurements. If you need to, make adjustments and then secure the other side of the frame to the 4x4s. Next, secure the frame at each point contacting the 4x4s with screws.
Step 9: Now, set a floor panel at the frame’s corner, flush to the edges. Nail down the edge that is short and check the frame for square once more. Many any required adjustments. Nail down the rest of the plywood. Attach the other panels of the floor, according to the directions. Do not forget to check for level.

Step 10: Now that your foundation is set, you are ready to build the shed. There are kits that come with detailed instructions so you can build a DIY shed, or you can hire a professional to do it for you.
Installing your shed’s foundation is critical since it is what determines how long your shed will last. Without a sturdy foundation, your shed will not stand firm. So make sure that you install your shed’s foundation properly and that it is level. This is the best way to make sure that you have a strong shed that stays with you for years. You want this shed to last many hockey seasons, decades of them in fact.


